Results Base Virtual Event System
If you are entering a Virtual Event you will be expected to provide your own result/time taken.distance travelled and this page explains how to do this.
Event entry
Entering a Virtual Event is exactly the same as entering any other event on the Results Base system - there's even a specific calendar for them (they are always shown in the main calendar as well). You create a profile (or use an existing one) - a 'profile' what we call an account - on the system and fill in the participant details for the event. Typically the details required for a Virtual Event will be much simpler than those required for a conventional one but you can expect to be asked for your name, gender, date of birth and any club affiliation.
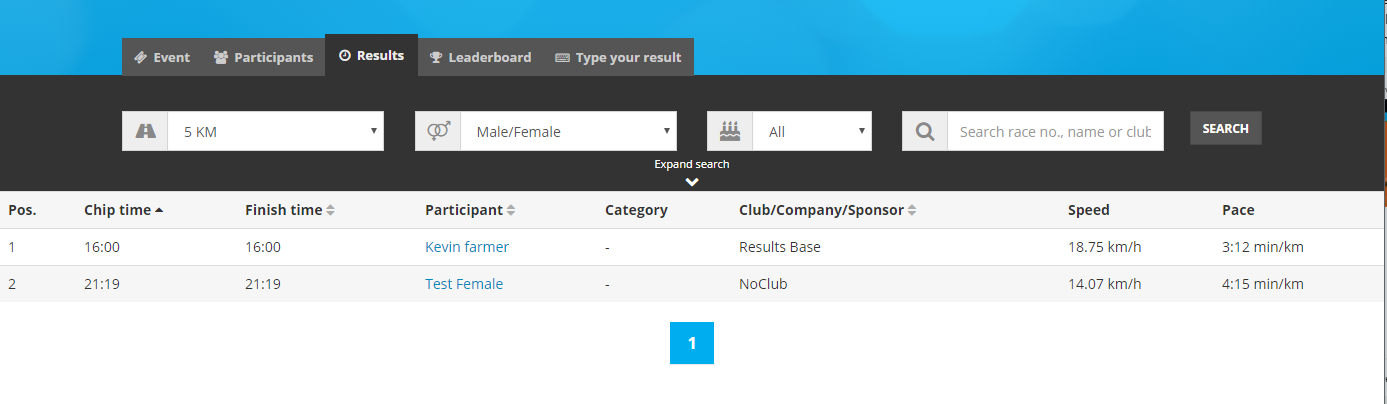
Results for a virtual event will appear on our regular results listings or you can look at the special virtual results page.
All the normal options for updating and managing your entry Ticket apply, see our FAQ pages for more information.
You will receive a receipt by email in the normal way and in some cases you'll also get a 'follow-on' email from the organisers as there won't be the normal information pack, etc.
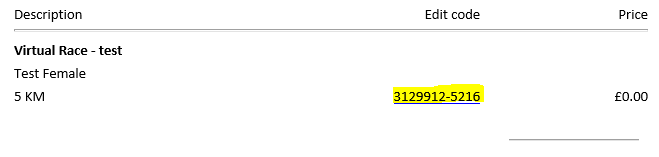
Your Tickets (your entries to events on our system) can all be found by logging in and then using the 'My Area' menu - you'll see 'Your tickets' as one of the sub-items. The Edit Code link on the receipt is just a quick link direct to your entry so you can add in the result later. If you lose your receipt you can just go direct to the Ticket in your profile to get a new one, click the 'Information' button.
If you use your profile to enter other people into the event you will either need to enter their times for them OR copy the Edit Code link and give it to them. The Edit Code link will enable them to enter their own times directly into their Ticket even though they don't have access to your Profile.
Adding a result
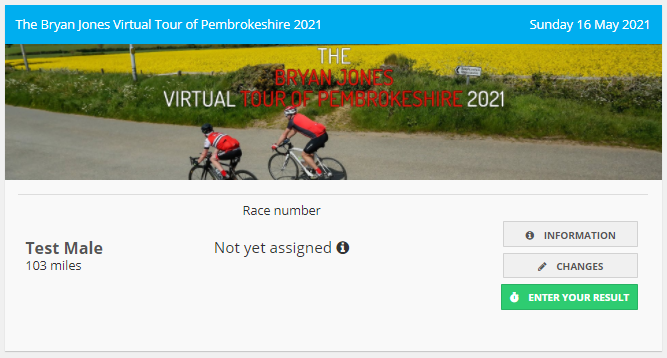
Once you have completed your activity and you wish to submit that time/distance as your result you need to use the Ticket link (or go direct to the Ticket) and enter the time you achieved and, optionally, upload supporting evidence. Suggested things to upload would be a picture or screenshot of your watch, your GPS device, your time in an app like Strava, Garmin Connect, etc or just a picture of yourself at the location you did the run. You can also enter a URL to the activity in your Strava / Garmin Connect / Endomondo / etc account and this will appear as a link on your results detail page next to the social media links (see below).
NOTE: In challenge-type events where you may be asked to enter a distance as well as a time you need to always ensure that the distance is entered in kilometres - data from linked Garmin accounts will always be in kilometres even if you have set the display to show miles.
Single discipline
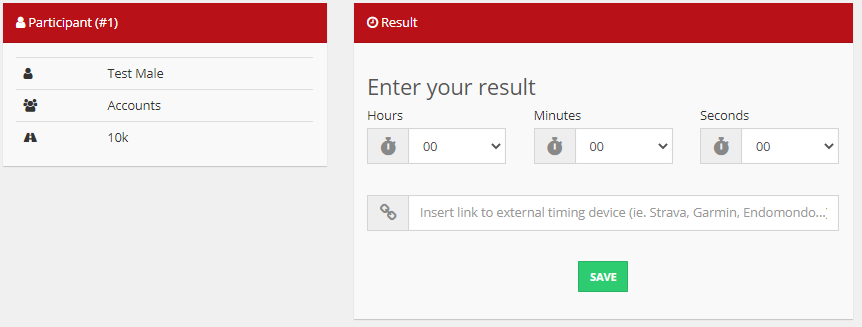
For single discipline events such as a 10k run you just enter the time taken using the hours, minutes and seconds boxes.
Multisport
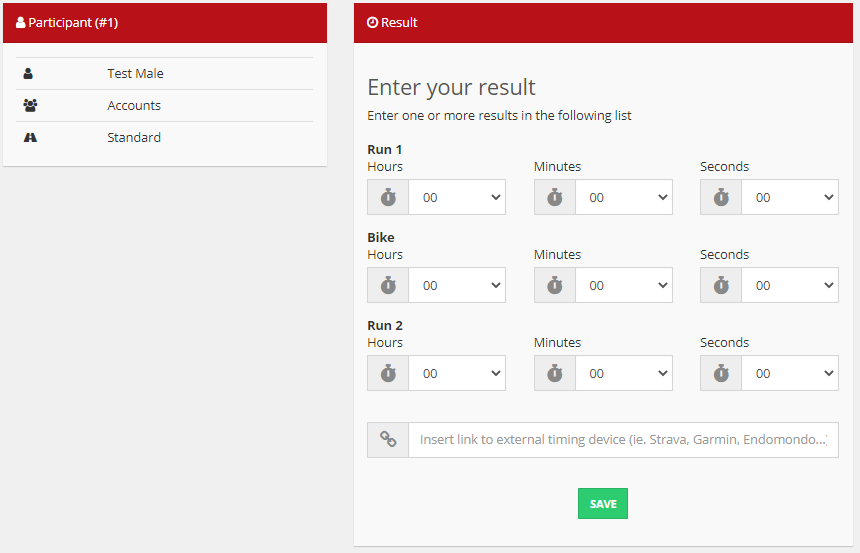
For multisport events there will be multiple time entry boxes: one for each leg of the event (run, bike and run in the example shown). Depending on the event you may have done these continuously or on separate days but you do need to input all the times at the same time. You may also need to enter the overall total time which may be longer than the sum of the three legs because of transitions. Note that the total time box may not be there, depending on the event setup - if there is no total time box the system will automatically add up the leg times to get the total.
Virtual stopwatch
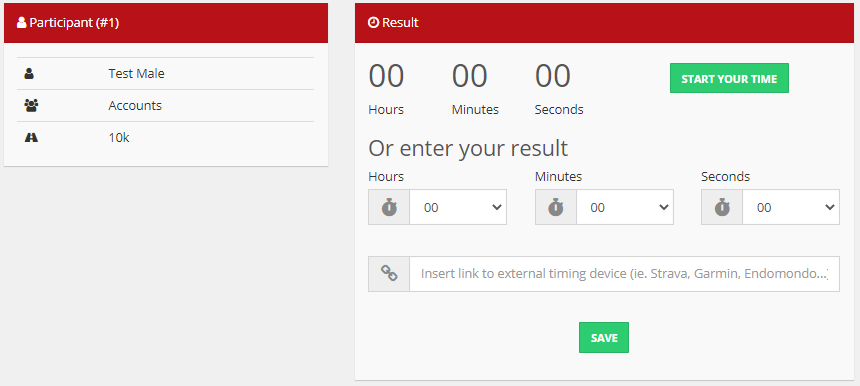
For some events it is possible to use the event entry Ticket itself as a timer. If this is enabled for the event you will see a stopwatch display on the device with a 'start' button (see below). Pressing this starts the timer and the button then changes to a 'stop' button that stops the timer and automatically inserts the time into the Ticket.
Evidence to support your times
You can optionally submit supporting images (the number of images allowed depends on the event setup and the option may not be there) and/or a link to your activity tracker. Note that some events may require the upload of one or more elements to validate your time.
NOTE: please do NOT submit actual GPX or other GPS data files as these contain location information which you may not want to become public.
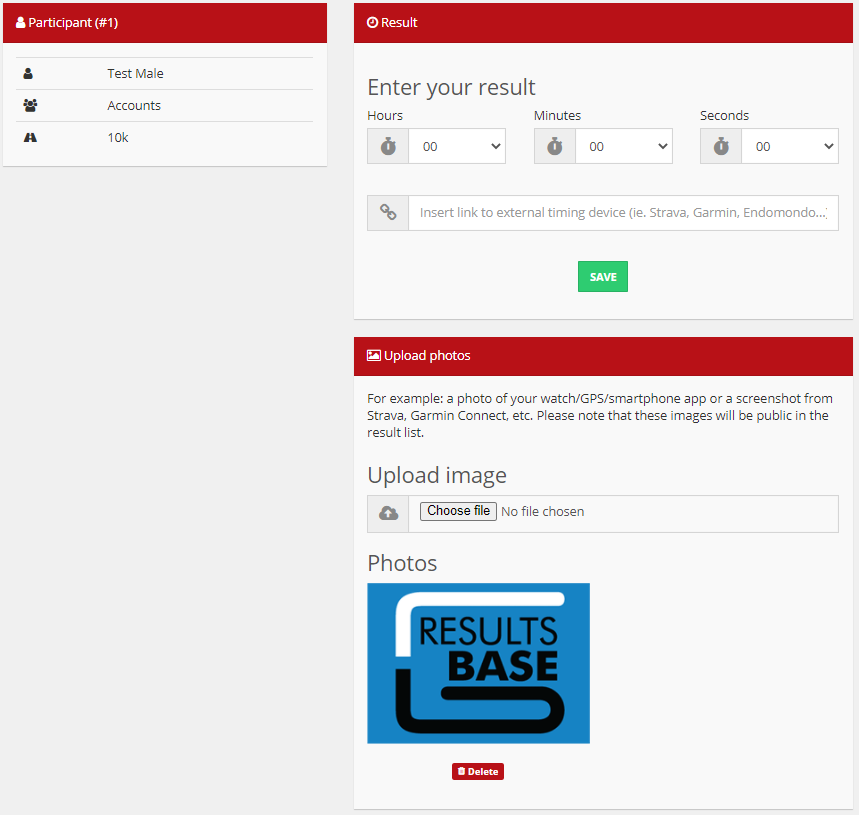
IMPORTANT: Please note that these pictures will be public, they are the supporting evidence for your time. If you want to remove an image that you have uploaded see the Privacy section below - this follows exactly the same process for virtual results as it does for timed events.
If you are not happy with your time and you go and do the event again you can just re-submit the time and image(s) - you don't need to re-enter, just update the time.
Automatically linking to your Garmin account
Some events will offer you the option of linking your Garmin account during the entry process. If you do this (and you can unlink at any time) the latest activity that matches the event distance will automatically be imported into the event results. If you went over the expected distance by more than 3% the time in the results will be trimmed to the time recorded at correct distance.
If the activity that is automatically linked isn't the right one, or you wish to replace it with another activity for an improved time, just unlink the activity and then re-link it to the correct/updated activity to replace/update the time imported.
IMPORTANT NOTE If you enter more than one person to an event then you, as the Profile owner, will have your Garmin account automatically linked to your entry Ticket(s). However, the other people on your order will not have their entries linked because the system doesn't yet know their details. You can add this information to their Ticket(s) by selecting the Ticket, clicking the Changes button and then using the Connect Garmin Connect option to input their relevant details. You can use the Add account (or Remove and then Add account) as appropriate to change the link to another person's Garmin Connect account.
I forgot to link my Garmin
If you didn't link up your Garmin during the registration process and want to add it you need to go to your Ticket for the event. You can get there by either:
- clicking the Edit Code link on your receipt or
- the 'Your tickets' section of the My Area menu
Click the CHANGES button on the Ticket and you'll see the option to Connect Garmin
Manually linking to an online activity
Getting a link to your activity from Strava / Garmin Connect / Endomondo / etc is normally just a matter of selecting that activity and then using the 'Share' icon to get the URL for that activity. Specific instructions for your device/app will be readily available online, please don't ask us for detailed instructions!
Simply paste the URL into the Activity Link box. This is just a link and does not import time and/or distance data into the results.
Notes about times
Most events will have a maximum and minimum time set for the distance(s) - we are not expecting world records to be broken! - and all events will have a date range within which times can be submitted. Anything outside of these allowable times or dates will be ignored.
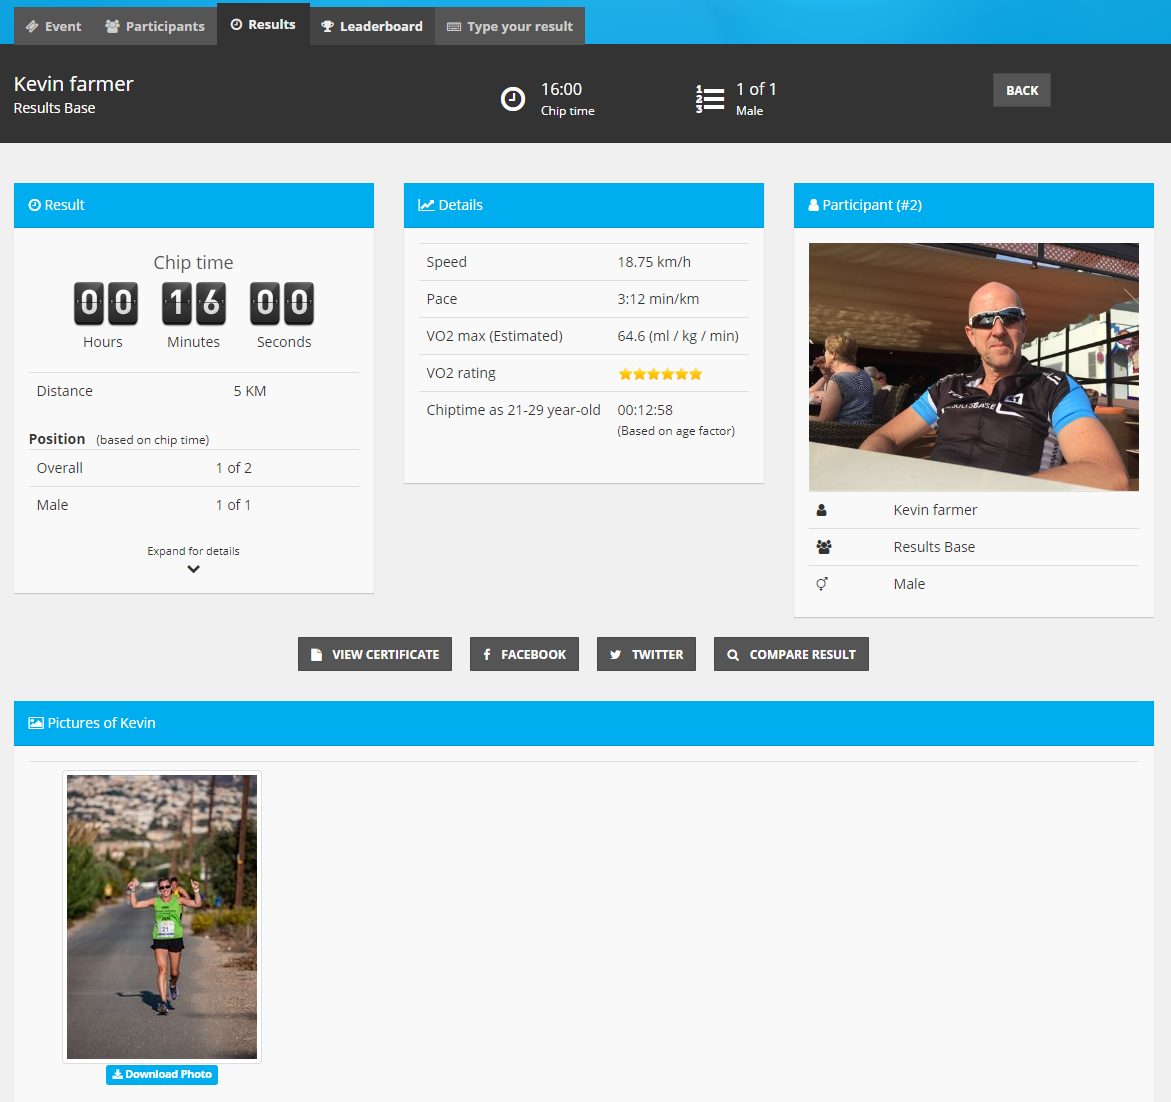
Your result is immediately published and the results page for the event is updated. You can download a certificate of your time in the normal way - click your name in the results to get your detail page and you will see a link for the certificate.
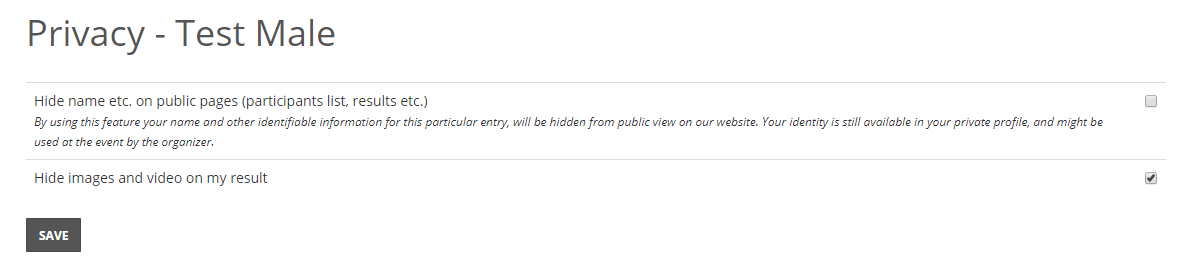
Privacy: hiding names/images
The privacy options available on a virtual event are exactly the same as those on a normally timed event. If you have set your privacy preferences in your profile these choices will be reflected on all the events in your profile. If you want to hide your name and/or any images associated with a specific result then this is done at the event level.
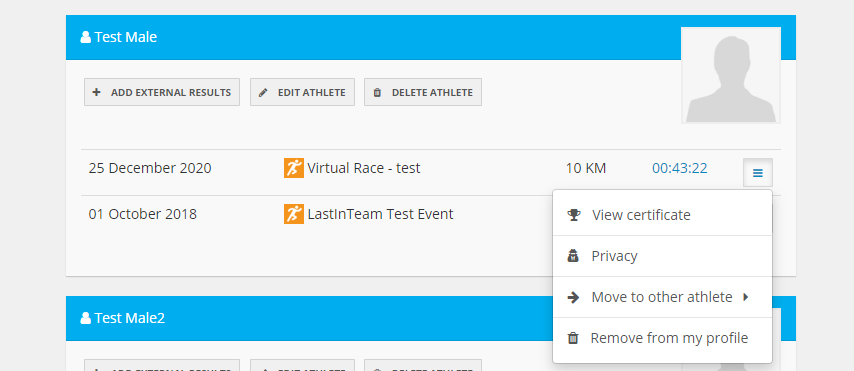
Log in to your profile and select My results and athletes from the My Area menu. Find the result you want to change the privacy setting on and click the 'hamburger' menu (three stacked lines) and then select Privacy.
You can choose to hide your name, your images or both.